Ingredients
Equipment
Method
- Grease your pumpkin-shaped molds or workspace with cooking spray or butter to prevent sticking.
- In a large saucepan, melt the butter over low heat until it’s bubbly and fragrant, filling your kitchen with a warm, sweet aroma.
- Add the marshmallows to the melted butter, stirring gently until completely melted and smooth. You’ll hear a soft bubbling sound as the marshmallows melt into a gooey mixture.
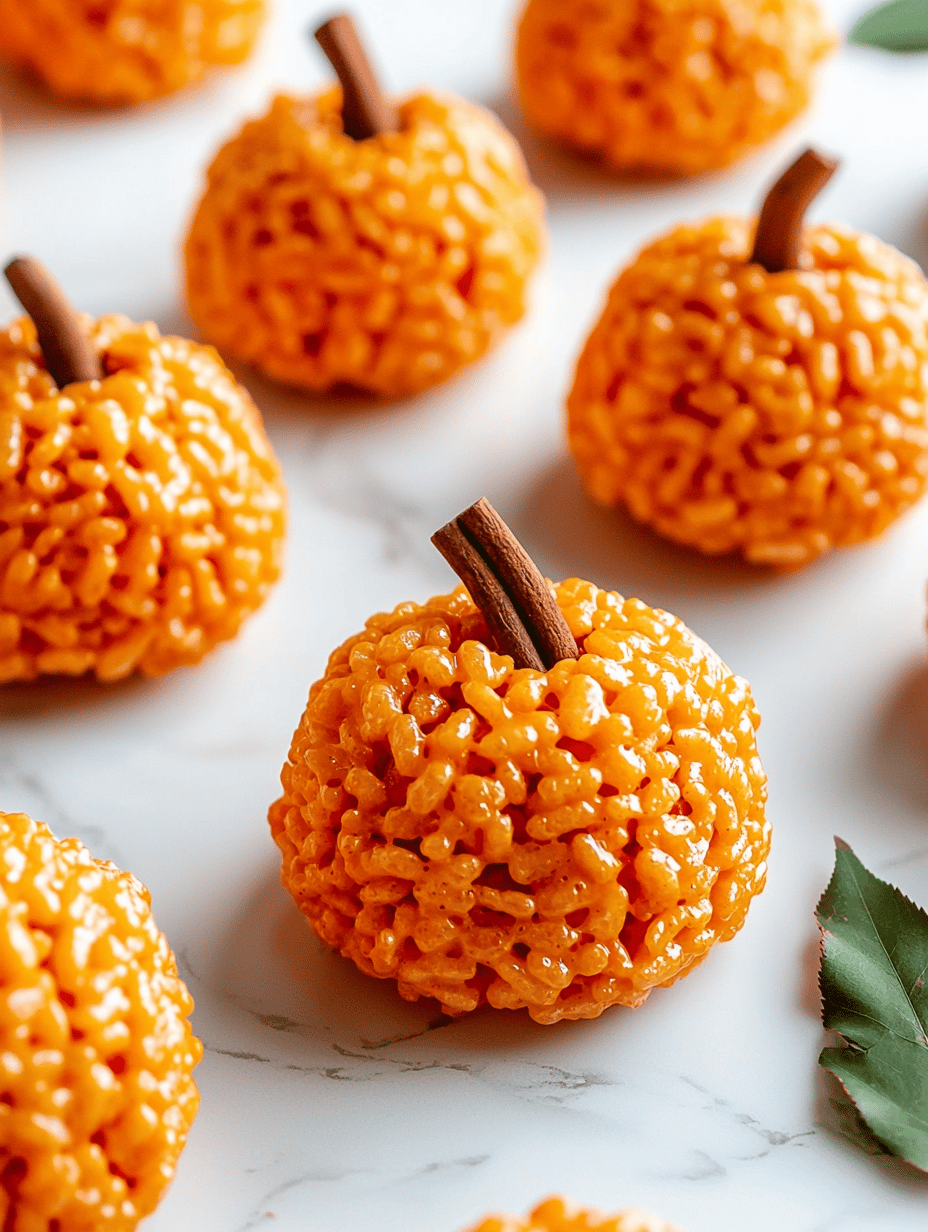
- Stir in the pumpkin puree, vanilla extract, and cinnamon until fully integrated, creating a vibrant orange-colored mixture that smells cozy and inviting.
- Remove the pan from heat and quickly pour in the rice cereal, folding it into the marshmallow mixture with a rubber spatula until well coated and uniformly orange and sticky.
- Transfer the mixture onto the prepared surface or into the greased molds. Gently press and shape the mixture into small pumpkin shapes or use molds to form perfect spheres, pressing firmly so they hold together.
- Allow the shaped treats to cool and set for about 15 minutes; this helps them firm up for easy handling.
- Once set, use small brushes or toothpicks to add details or face decorations with black food coloring, or create stems and vines with additional black and orange icing or fondant for extra festive flair.
- Arrange the pumpkin treats on a serving platter, or serve directly from your shaping area to show off their whimsical appearance.
Notes
For best results, use gel food coloring to prevent alteration of the treat’s texture. Feel free to add edible glitter or small candies to enhance the spooky fun. Keep treats stored in an airtight container to maintain freshness.