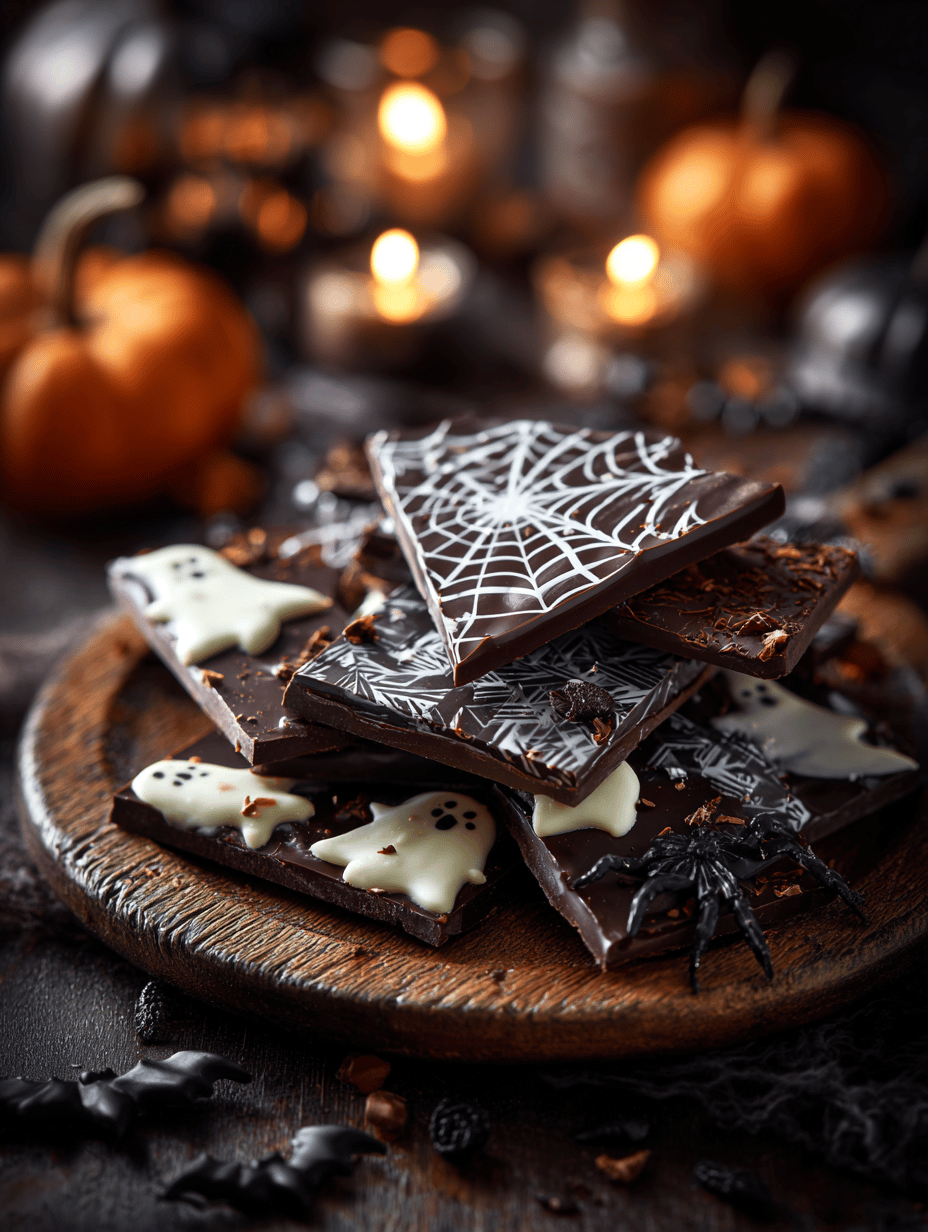
This Halloween bark recipe is my go-to for a quick, impressive treat that doesn’t require fancy skills. I love how it transforms simple ingredients into something spooky and elegant in minutes. It’s perfect for last-minute parties or when you want to impress without stressing.
Why I Keep Coming Back to This Halloween Bark
It’s forgiving, customizable, and instant gratification. Every year, I tweak the toppings—sometimes spicy, sometimes sweet—yet the simple act of making it always sparks joy. It’s a quick way to add a personal touch to the season. Plus, it’s as much fun to make as it is to eat.
Ingredients Breakdown: What Makes This Bark Spooky
- Chocolate (dark or white): The base; I prefer a rich dark for depth, but white is fun for contrast.
- Toppings (candies, cookies, edible glitter): Add texture and visual punch; use what feels playful or spooky.
- Sea salt or chili flakes (optional): A pinch enhances flavor—sweet with a bit of edge.
- Edible glitter or luster dust: Gives that shimmering, ghostly glow—looks haunting and elegant.
- Candy eyes: Make it instantly creepy—grab them at the baking aisle.
Tools of the Trade for Spooky Bark
- Double boiler or microwave: Melts chocolate gently to prevent burning.
- Spatula or spoon: Stirs and spreads the melted chocolate evenly.
- Parchment paper: Prevents sticking and makes cleanup easier.
- Sharp knife or breaker: Breaks the set chocolate into rustic pieces.
Step-by-Step to Spooky Chic Bark
Step 1: Line a baking sheet with parchment paper.
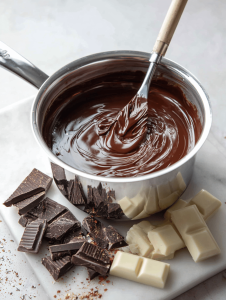
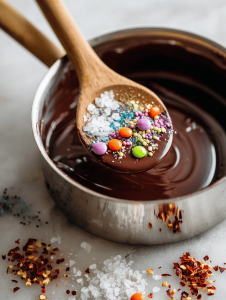
Step 2: Melt your chocolate (dark or white, your call) in a heatproof bowl over a double boiler or microwave in 30-second bursts, stirring until smooth.
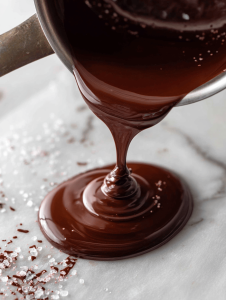
Step 3: Pour the melted chocolate onto the prepared sheet and spread into an even layer, about 1/4 inch thick.
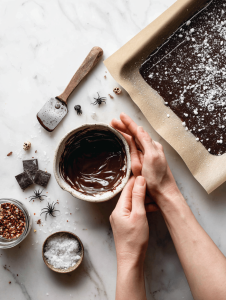
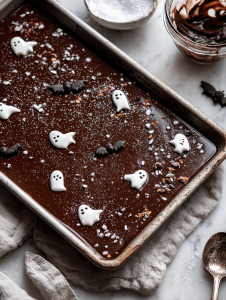
Step 4: Sprinkle on your spooky toppings—think crushed cookies, candy eyes, or edible glitter—while the chocolate is still warm.
Step 5: Let the bark set at room temperature for about 30 minutes or chill in the fridge for 15-20 minutes until firm.
Step 6: Once hardened, break into irregular pieces—no need for perfect cuts—and enjoy the rustic chaos.
Cooking Checkpoints & Tips for Perfect Bark
- Chocolate should be smooth and glossy, not grainy or dull.
- Toppings should stick well; sprinkle while chocolate is still warm for best adhesion.
- Avoid overcooking toppings; burnished edges ruin the look and taste.
- Bark should be firm to the touch and snap cleanly when broken.
Common Spooky Bark Mistakes & How to Fix Them
- Chocolate seizes or burns.? Use a microwave with short bursts; avoid overheating the chocolate.
- Toppings fall off or don’t stick.? Sprinkle toppings immediately after pouring chocolate.
- Bark is soft or sticky.? Chill the bark properly; don’t rush the setting process.
- Dull, grainy texture.? Don’t overmix melted chocolate; keep it smooth and shiny.
Halloween Chocolate Bark
Ingredients
Equipment
Method
- Line a baking sheet with parchment paper to prevent sticking and make cleanup easier.
- Place the chopped chocolate in a heatproof bowl. Melt it gently using a double boiler or microwave in 30-second bursts, stirring in between, until smooth and glossy.
- Pour the melted chocolate onto the prepared parchment-lined sheet. Use a spatula to spread it evenly into an approximate 1/4-inch thick layer, smoothing out any peaks or rough spots.
- Sprinkle your spooky toppings—candies, edible glitter, or candy eyes—over the warm chocolate. Press them lightly so they adhere well.
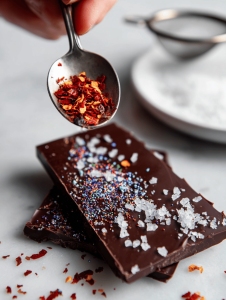
- Optionally, sprinkle a pinch of sea salt or chili flakes over the top for an extra flavor kick.
- Allow the bark to set at room temperature for about 30 minutes, or place it in the fridge for 15-20 minutes until it’s firm to the touch.
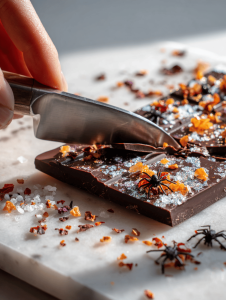
- Once fully hardened, break the chocolate into rustic, irregular pieces using your hands or a sharp knife.
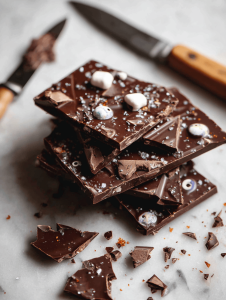
- Enjoy your spooky, shiny Halloween bark immediately or store it in an airtight container for up to a week.

Hi, I’m Daniel Whitaker, the voice behind Micromanaging Flavor. For me, micromanaging flavor is not about perfectionism. It is about paying attention. It is about understanding the small adjustments that turn a good dish into a great one. This blog is my space to explore those details and share what I learn along the way.
