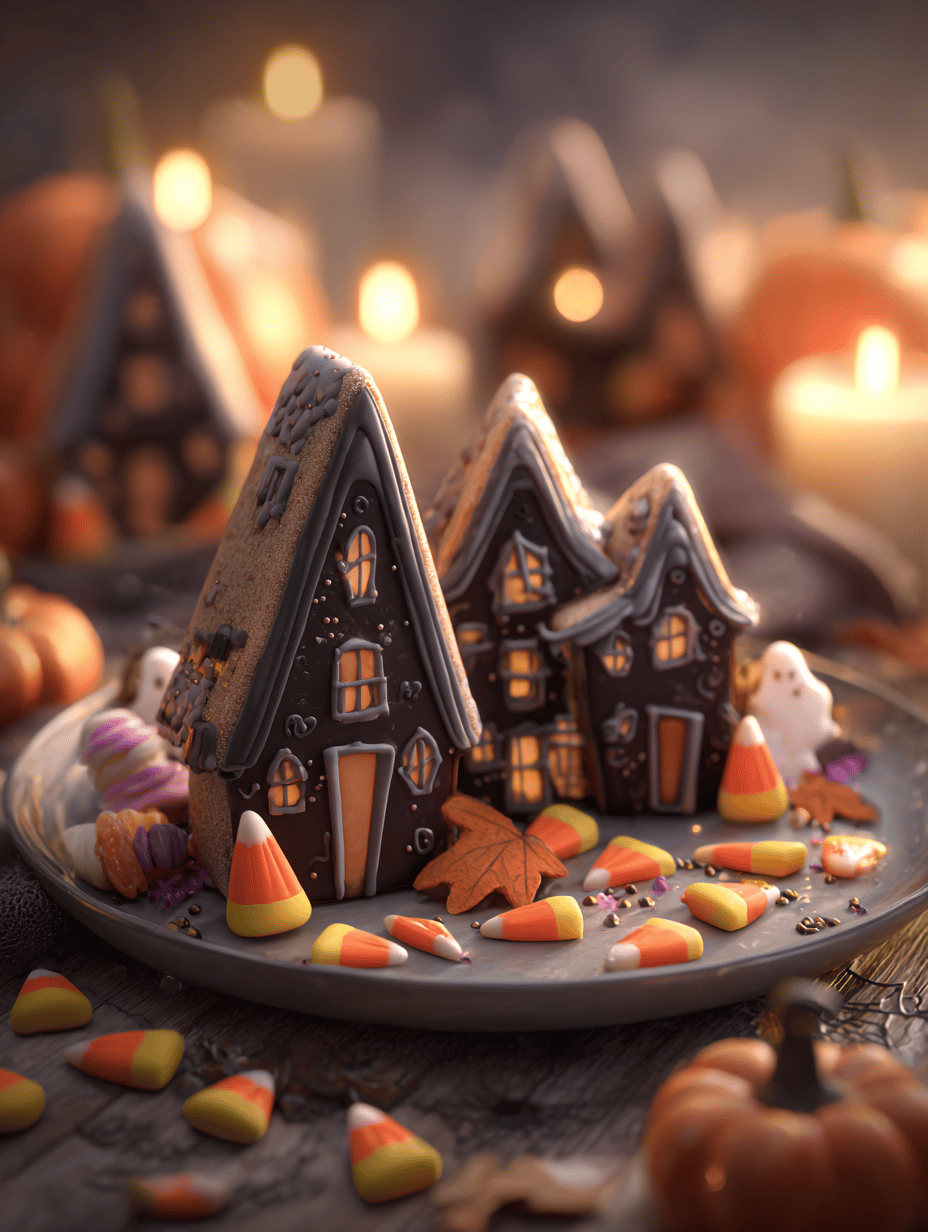
Every Halloween, I crave something that feels playful and a little bit eerie. These haunted house cookies fit that bill perfectly—they’re fun to make and even more fun to eat. The best part? You can personalize each spooky structure with your own creepy decor.
Why These Haunted Cookies Keep Calling Me Back
Their blend of nostalgia and chaos makes each batch a small adventure. I love how a simple dough turns into spooky little structures with just a few decorations. Plus, they’re surprisingly forgiving—perfect for a rushed party or a lazy afternoon project.
Spooky Ingredients & How They Play
- Butter: Gives cookies richness and a melt-in-your-mouth texture. Use unsalted for control.
- Sugar: Adds sweetness and helps with browning. Powdered sugar makes icing smoother.
- Eggs: Bind the dough, adding structure. Substitute with flaxseed meal for vegan version.
- Flour: The base structure; all-purpose works fine, but pastry flour keeps cookies tender.
- Vanilla extract: Brings warmth and depth. Lemon or almond extract can be fun swaps.
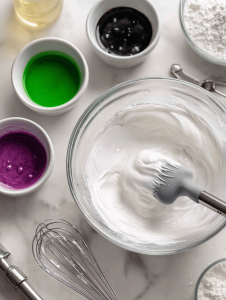
- Royal icing: For decorating, it hardens to a glossy finish. Mix with powdered sugar and egg whites.
- Food coloring: To tint icing spooky colors—think black, green, or purple.
Tools of the Spooky Trade
- Rolling pin: To flatten the dough evenly and get a consistent thickness.
- Cookie cutters: To cut out haunted house, ghost, and bat shapes.
- Baking sheet: To bake cookies evenly in the oven.
- Parchment paper: Prevents sticking and makes cleanup easier.
- Decorating brushes & piping bags: To add detailed icing and spooky faces.
Step-by-step Guide to Spooky Sweetness
Step 1: Preheat your oven to 180°C (350°F).
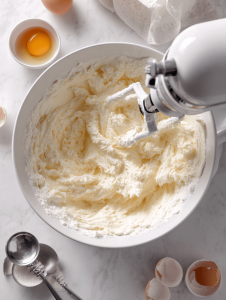
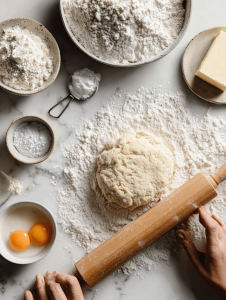
Step 2: In a large bowl, cream together 1 cup of softened butter and 1 cup of sugar for about 3 minutes until fluffy.
Step 3: Add 1 large egg and 1 teaspoon of vanilla extract, mix until smooth.
Step 4: In a separate bowl, whisk together 2 ½ cups of all-purpose flour, ½ teaspoon of baking powder, and a pinch of salt.
Step 5: Gradually add the dry ingredients to the wet, mixing just until combined.
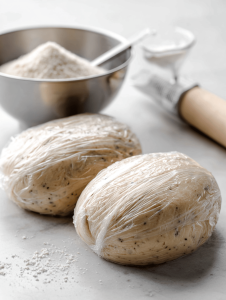
Step 6: Divide the dough into two, wrap in plastic, and chill for at least 30 minutes.
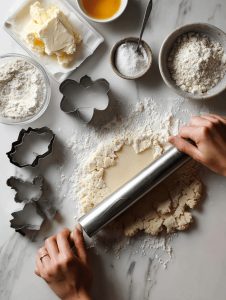
Step 7: Roll out one dough disk on a floured surface to about ¼ inch thickness.
Step 8: Use cookie cutters or freehand cut shapes resembling haunted houses, ghosts, or bats.
Step 9: Arrange cookies on a parchment-lined baking sheet, about 1 inch apart.
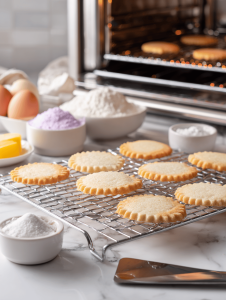
Step 10: Bake for 10-12 minutes, edges should be lightly golden. Watch for cracks, they are part of the spooky charm.
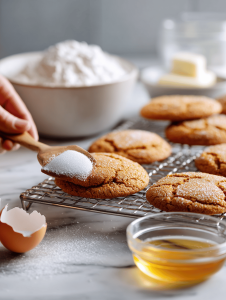
Step 11: Let cookies cool on a wire rack before decorating.
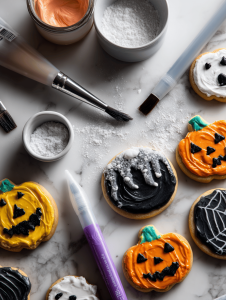
Step 12: For decoration, use royal icing or melted chocolate to add spooky faces, windows, or spooky details.
Step 13: Allow decorated cookies to set for at least 30 minutes before handling.
Spooky Tips & Tricks to Nail the Look
- Cookies should be firm but not overbaked; edges turn golden but centers remain soft.
- Decorations should be set and dry before stacking or storing to avoid smudging.
- Use a toothpick or a fine brush for detailed icing work, especially on small haunted house windows.
- If icing cracks, add a tiny bit of water and remix to smooth out for a shiny finish.
Beware the Haunted Kitchen: Common Mistakes & Fixes
- Dough was too warm when baked.? If cookies spread too much, chill the dough longer before baking.
- Icing was too thin for decorating.? If icing is runny, add more powdered sugar.
- Cookies turned dark around the edges.? If cookies are overbaked, reduce oven time by 2 minutes.
- Decorating before icing dried.? If decorations slide off, let icing set longer before stacking.
Haunted House Cookies
Ingredients
Equipment
Method
- In a large mixing bowl, beat the softened butter and sugar together with a hand mixer or stand mixer on medium speed for about 3 minutes, until the mixture is fluffy and pale.
- Add the large egg and vanilla extract to the bowl, then beat until fully incorporated and smooth, about 1 minute.
- In a separate bowl, whisk together the flour, baking powder, and salt. Gradually add these dry ingredients to the wet mixture, mixing on low speed until the dough just comes together and is smooth.

- Divide the dough into two equal parts, wrap each in plastic wrap, and chill in the refrigerator for at least 30 minutes to relax the gluten and make it easier to roll out.
- Preheat your oven to 180°C (350°F). Remove one dough ball from the fridge and place it on a floured surface. Roll it out gently to about ¼ inch thickness, turning the dough occasionally to keep it even.
- Use haunted house, ghost, or bat-shaped cookie cutters to cut out shapes from the rolled dough. Transfer the cutouts carefully onto a parchment-lined baking sheet.
- Bake the cookies in the preheated oven for 10-12 minutes, until the edges are just golden and slightly crisp. Keep an eye on them to prevent overbaking, which can make the cookies too hard.
- Once baked, remove the cookies from the oven and let them cool on the baking sheet for a couple of minutes, then transfer to a wire rack to cool completely before decorating.
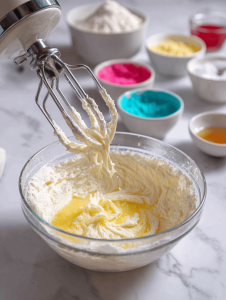
- Meanwhile, prepare royal icing by mixing powdered sugar with egg whites until smooth and glossy. Divide the icing into bowls and tint with food coloring to create spooky hues like black, green, and purple.
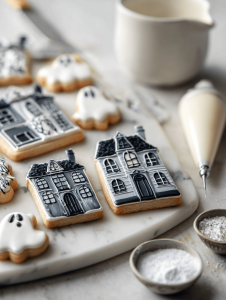
- Use piping bags and decorating brushes to add spooky details such as windows, faces, or creepy accents onto each cookie. Let the decorated cookies set for at least 30 minutes to ensure the icing hardens and stays in place.
- Once the decorations are dry and glossy, arrange your haunted house cookies on a platter and enjoy their festive, spooky charm!
Notes

Hi, I’m Daniel Whitaker, the voice behind Micromanaging Flavor. For me, micromanaging flavor is not about perfectionism. It is about paying attention. It is about understanding the small adjustments that turn a good dish into a great one. This blog is my space to explore those details and share what I learn along the way.
